When it’s time to replace your HVAC system, the process can seem overwhelming. Heating, Ventilation, and Air Conditioning (HVAC) systems are integral to maintaining comfort in your home or business, so ensuring the replacement process goes smoothly is essential. Proper preparation can save you time, money, and stress while maximizing the performance of your new system. Here’s a step-by-step guide to help you prepare for an HVAC replacement.
1. Evaluate Your Current System
Before diving into the replacement process, assess your current HVAC system’s performance. Ask yourself the following questions:
Is the system more than 10-15 years old?
Are there frequent breakdowns or costly repairs?
Do your energy bills keep rising despite regular maintenance?
Are there inconsistent temperatures in different rooms?
If you answered “yes” to several of these questions, it’s likely time for a replacement. Knowing the specific issues with your current system will help you make more informed decisions when selecting a new one.
2. Set a Budget
HVAC replacements can be a significant investment, with costs varying based on the type of system, the size of your home, and the complexity of installation. Set a clear budget that includes:
The cost of the HVAC unit
Installation fees
Additional costs for ductwork, thermostats, or electrical upgrades
It’s also wise to allocate some funds for unexpected expenses that might arise during the installation process. Research financing options, rebates, or tax credits that might be available to help offset the cost.
3. Research HVAC Systems
With advancements in technology, modern HVAC systems offer better energy efficiency, improved air quality, and smart home integration. Some types to consider include:
Central Air Conditioners and Furnaces:** Ideal for homes with existing ductwork.
Heat Pumps: Energy-efficient and suitable for moderate climates.
Ductless Mini-Splits: Great for homes without ductwork or where only certain areas need conditioning.
Geothermal Systems: Eco-friendly but with a higher upfront cost.
Compare features like energy efficiency ratings (SEER for air conditioners, AFUE for furnaces), system lifespan, and warranty terms. Understanding these options will help you choose a system that best fits your needs and budget.
4. Hire a Qualified HVAC Contractor
Choosing the right contractor is crucial for a successful HVAC replacement. Here’s what to look for:
Licensing and Insurance: Verify that the contractor has proper licensing and insurance to safeguard you from any liability.
Experience and Reputation: Look for a contractor with experience in HVAC installations and positive customer reviews.
Detailed Estimates: Request estimates from multiple contractors to compare pricing and services. The estimate should include all costs, the scope of work, and timelines.
References: Ask for references and check with previous clients about their experiences.
A reputable contractor will also perform a thorough evaluation of your home’s heating and cooling needs before recommending a system, ensuring that you get the right size and type of HVAC unit.
5. Prepare Your Home for Installation
Once you’ve chosen your HVAC system and contractor, it’s time to prepare your home for installation. This involves:
Clearing the Work Area: Remove any furniture, decorations, or obstructions near the installation site to provide easy access for the technicians.
Protecting Your Belongings: Use drop cloths or plastic sheets to cover nearby furniture and floors to prevent dust and debris from settling.
Ensuring Accessibility: Ensure that areas like the attic, basement, or crawl spaces are accessible, as these may be needed for installation.
Making Arrangements for Pets and Family:** Installation can be noisy and disruptive, so plan for your family and pets to be out of the house or in a separate area during the process.
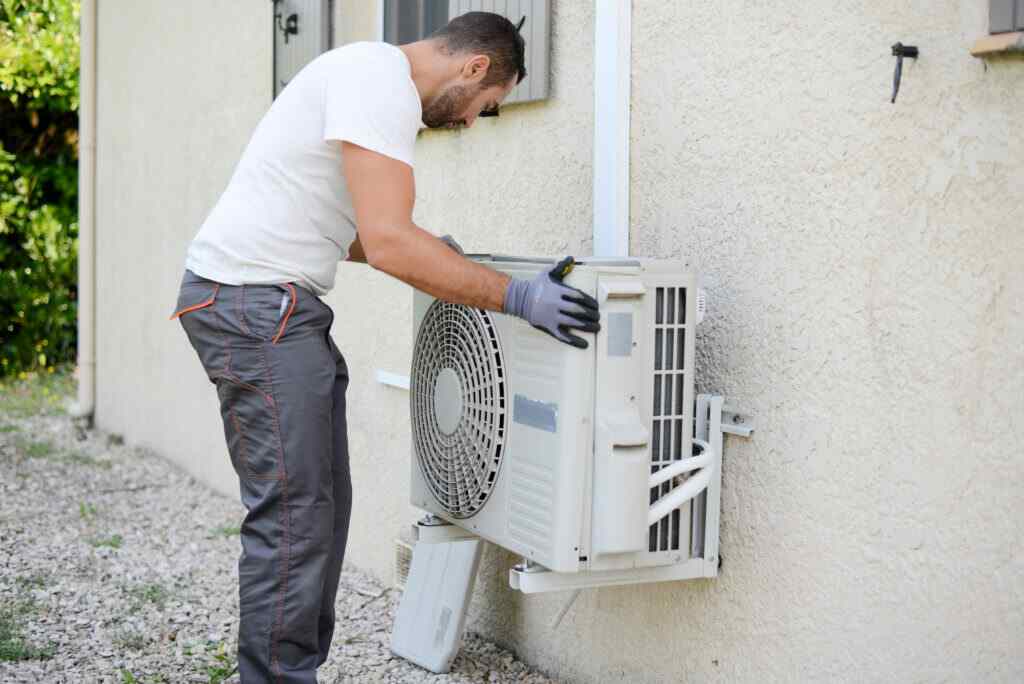
6. Understand the Installation Process
While the contractor will handle the installation, knowing what to expect can help you stay informed and prepared:
System Removal: The old HVAC system will be disconnected and removed, which may involve handling refrigerants and other hazardous materials.
Ductwork Inspection: If your home has ductwork, it will be inspected for leaks or damage, and repairs or replacements may be made.
New System Installation:The new system will be installed, including connecting it to the existing ductwork (if applicable), electrical systems, and thermostat.
System Testing:** After INSTALLATION, the contractor will test the system to ensure it operates correctly and meets performance standards.
7. Post-Installation Checklist
After the installation is complete, there are a few steps to ensure everything is in order:
System Walkthrough: Have the contractor walk you through the system’s operation, maintenance tips, and warranty details.
verify Paperwork: Ensure you receive all necessary documentation, including the warranty, receipts, and any rebate forms.
Schedule Future Maintenance: Regular maintenance is key to the longevity of your new HVAC system. Schedule your first maintenance visit and mark it on your calendar.
Conclusion
Service ac jakarta : Preparing for an HVAC replacement involves careful planning and research, but the effort pays off with a smooth installation process and a reliable, efficient system. By following these steps, you’ll be well-equipped to handle the replacement and enjoy the comfort of your new HVAC system for years to come